Bathrooms
Kitchens
Exterior
Painting
Before & After
About Us
Contact
Before and After Comparisons
Photo Gallery
back
|
1
to
5
of
5
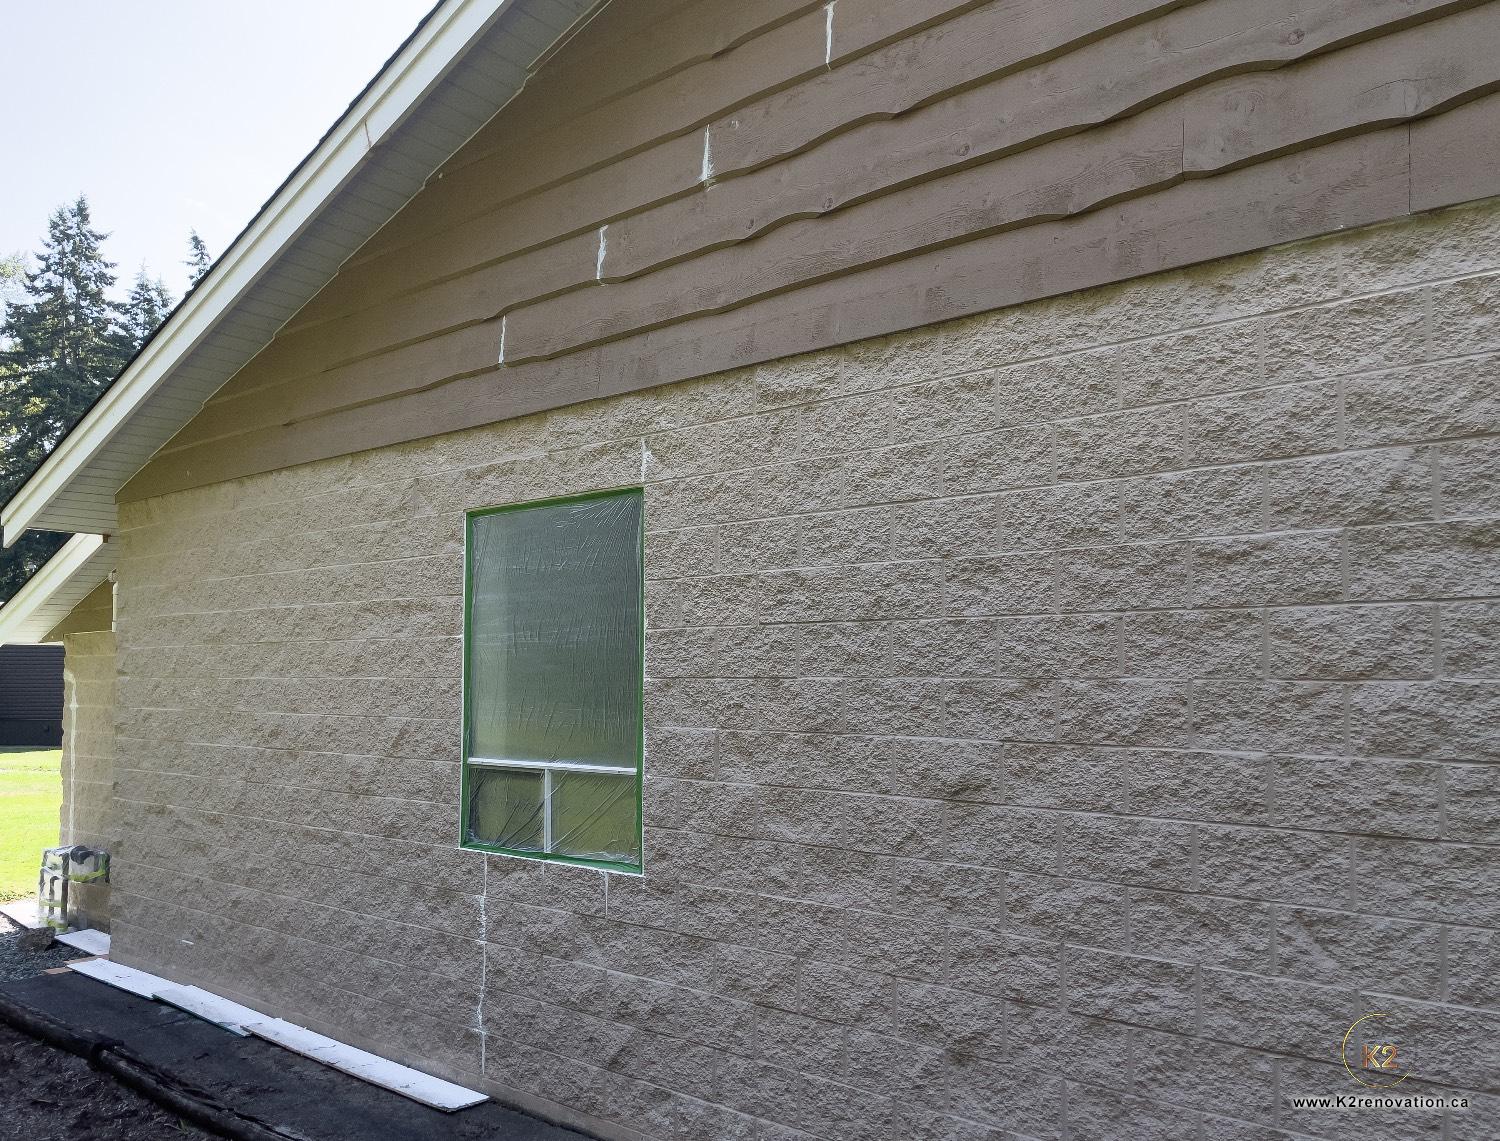
BEFORE
Exterior and Interior Painting
Preparation work before priming and painting on a building in Langley, BC
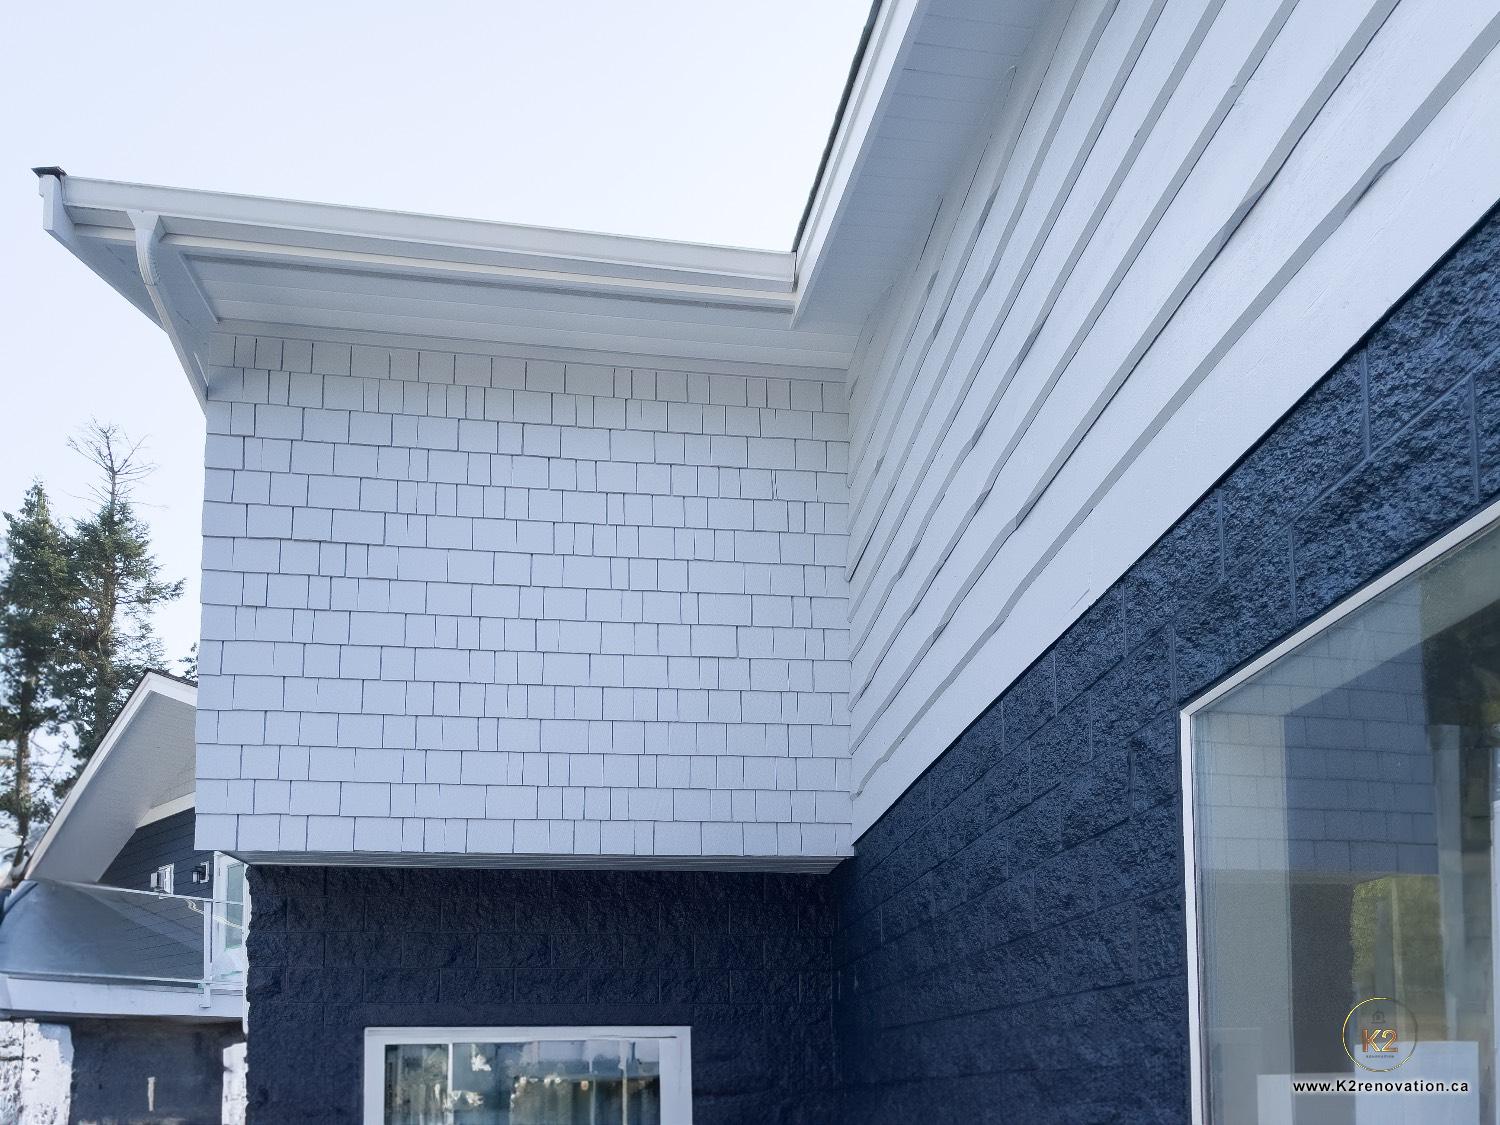
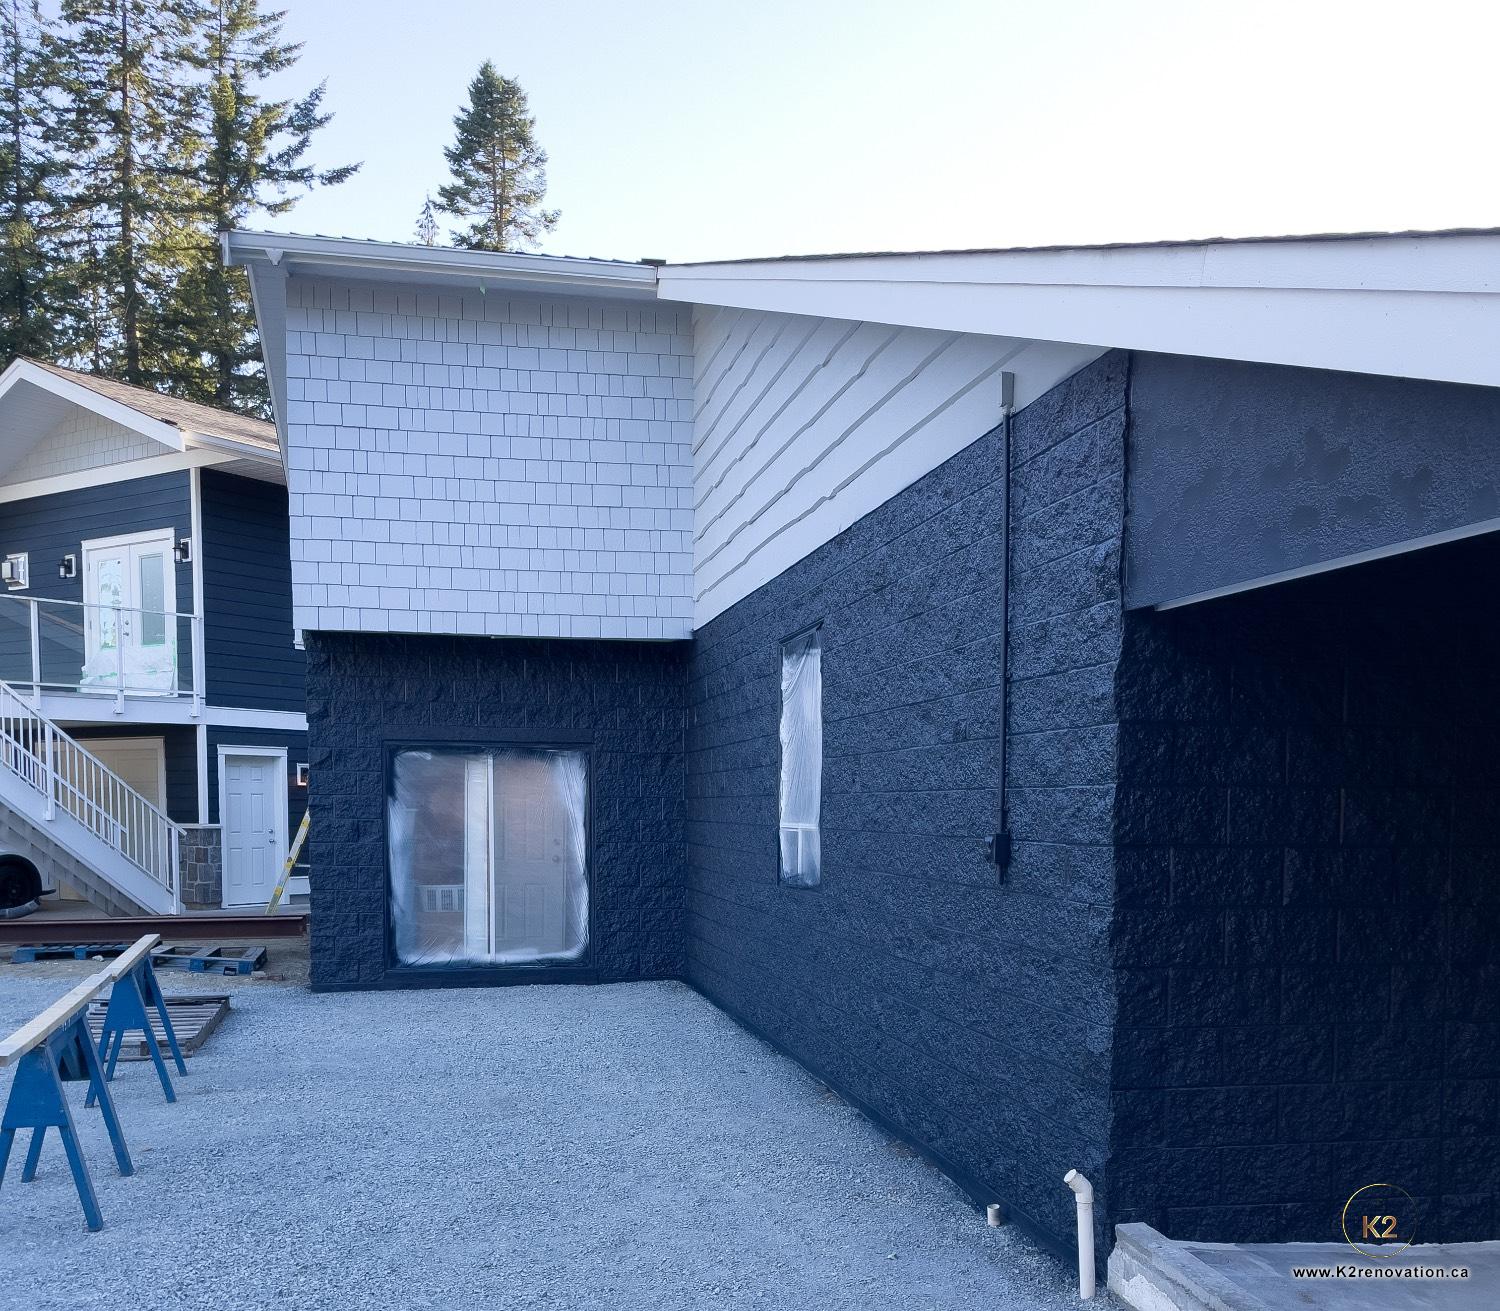
AFTER
Exterior two color
Finished exterior painting in two colours
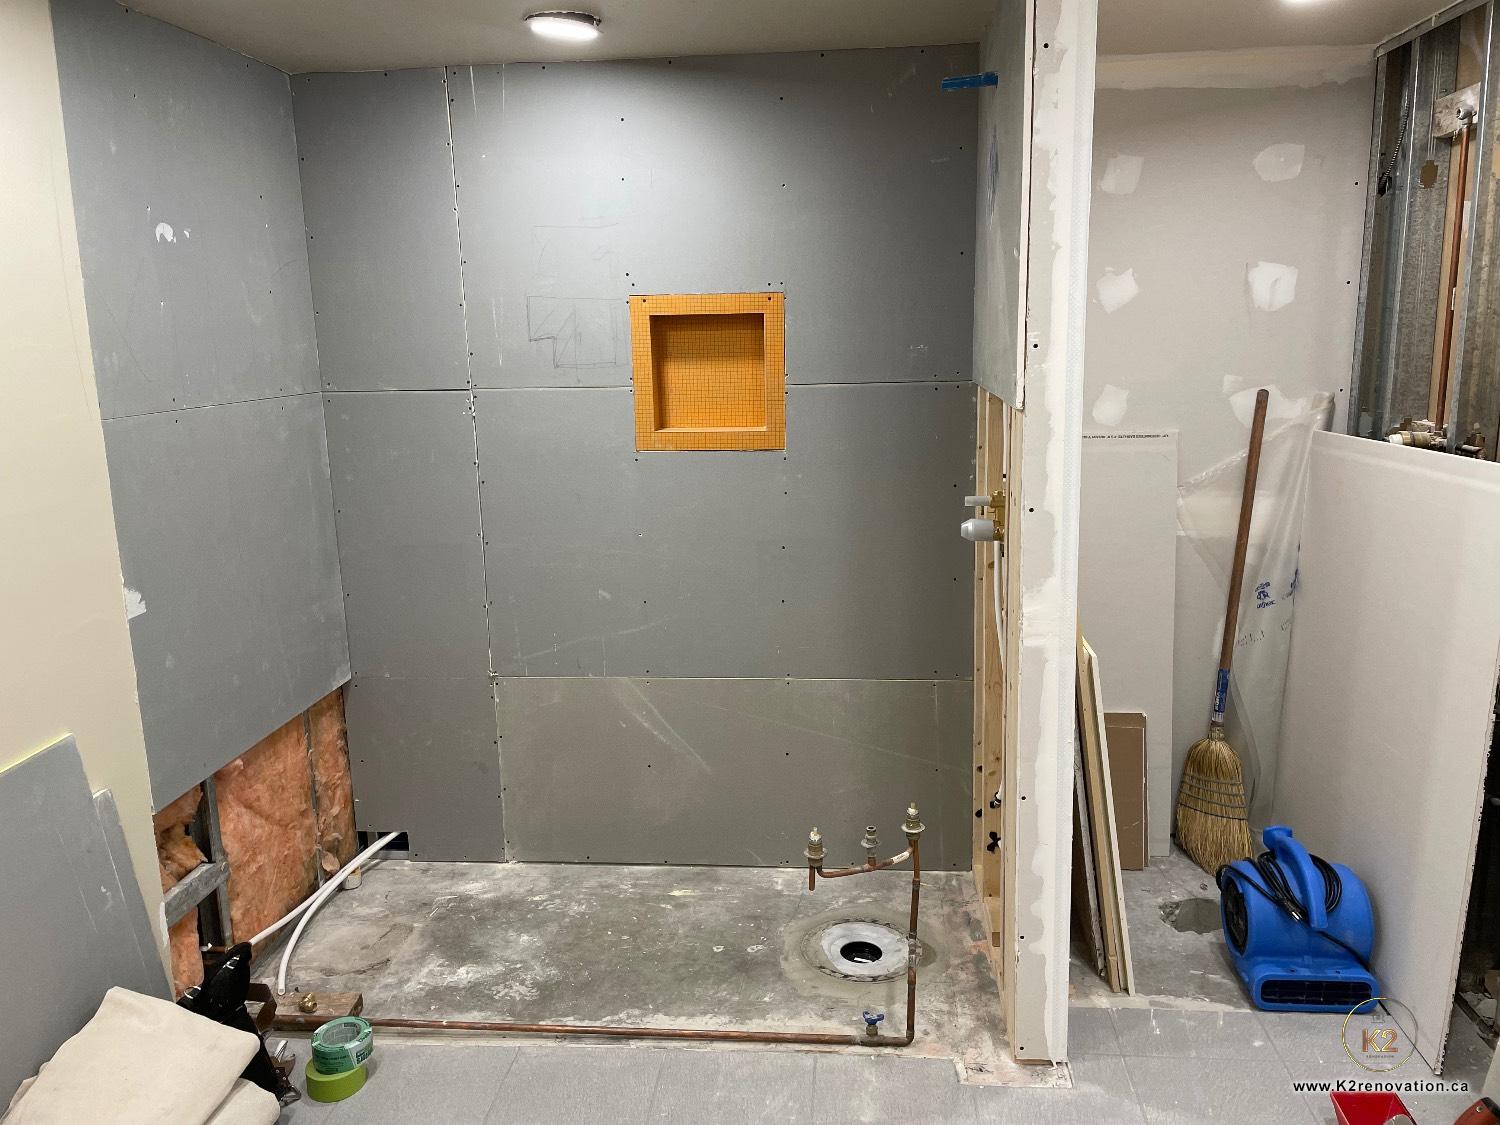
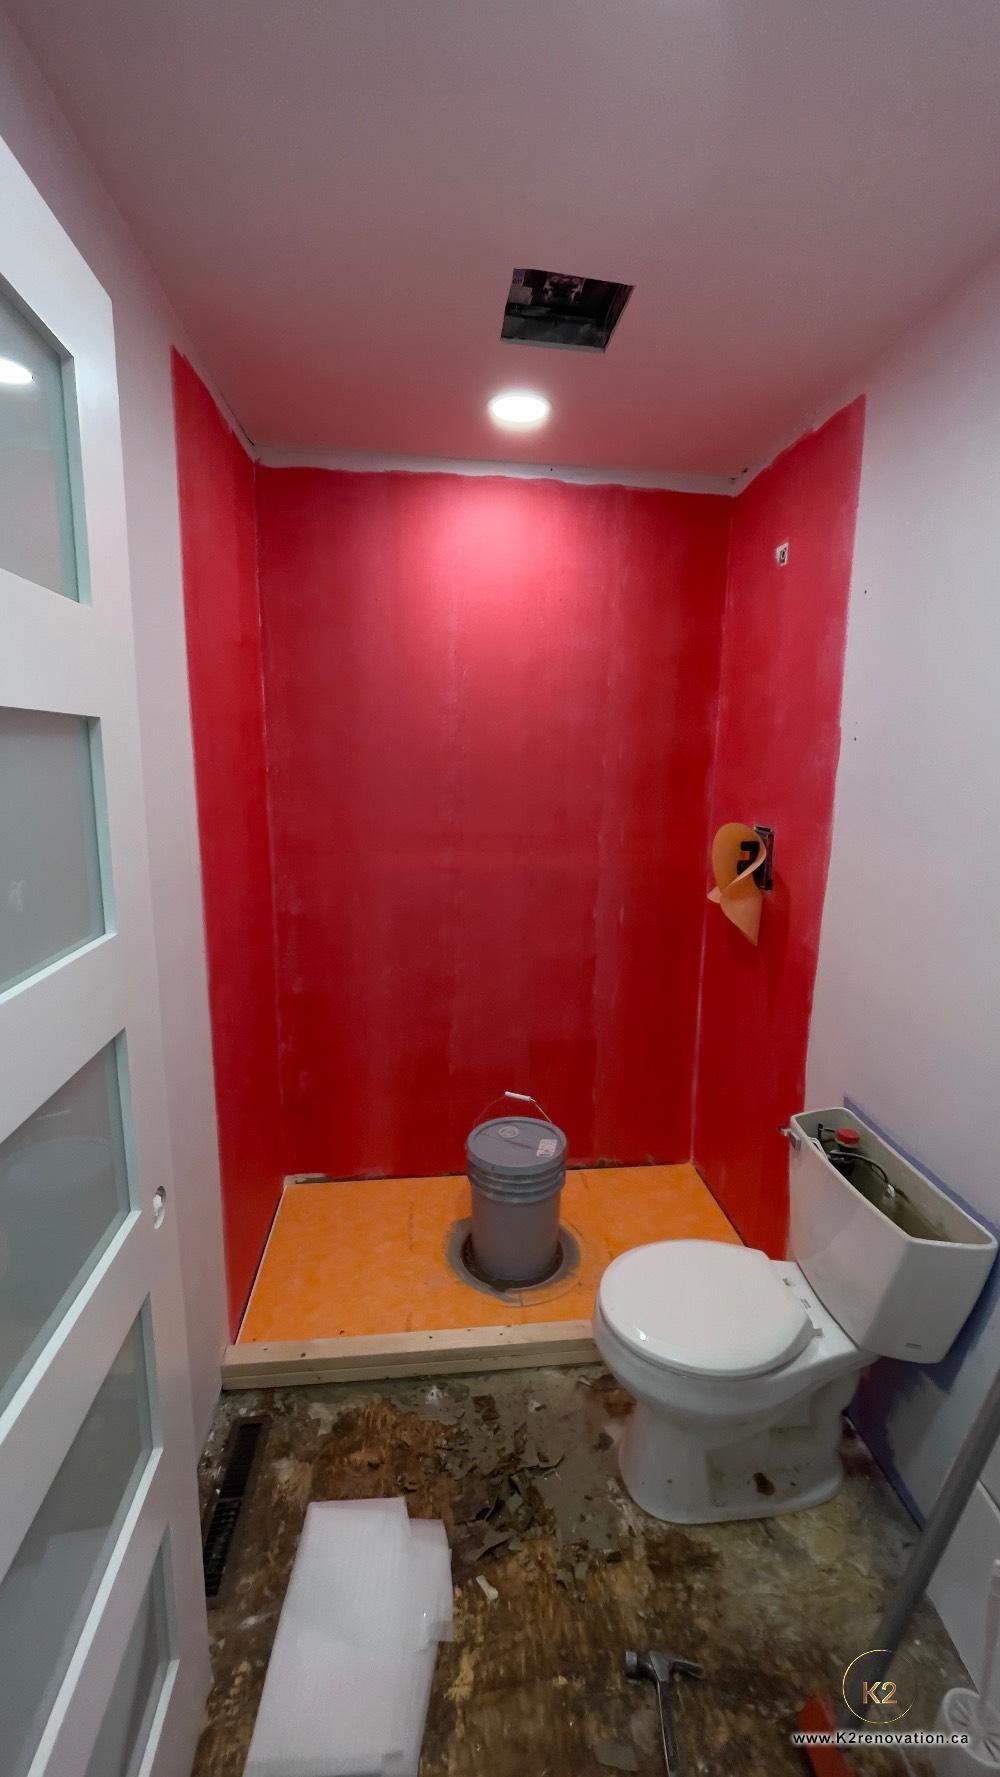
BEFORE
Prep work
First stages after demolition
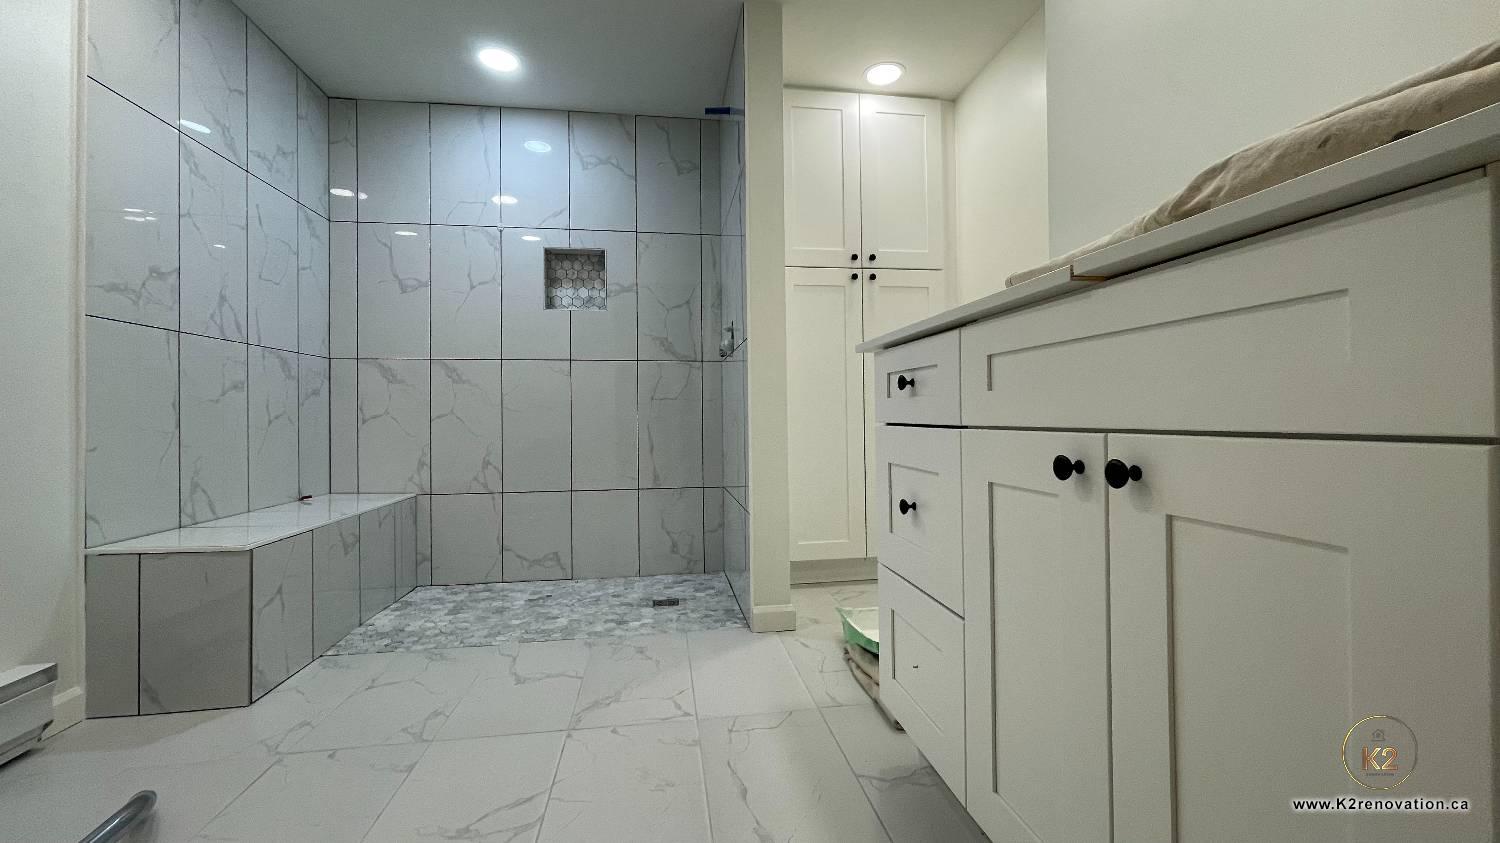
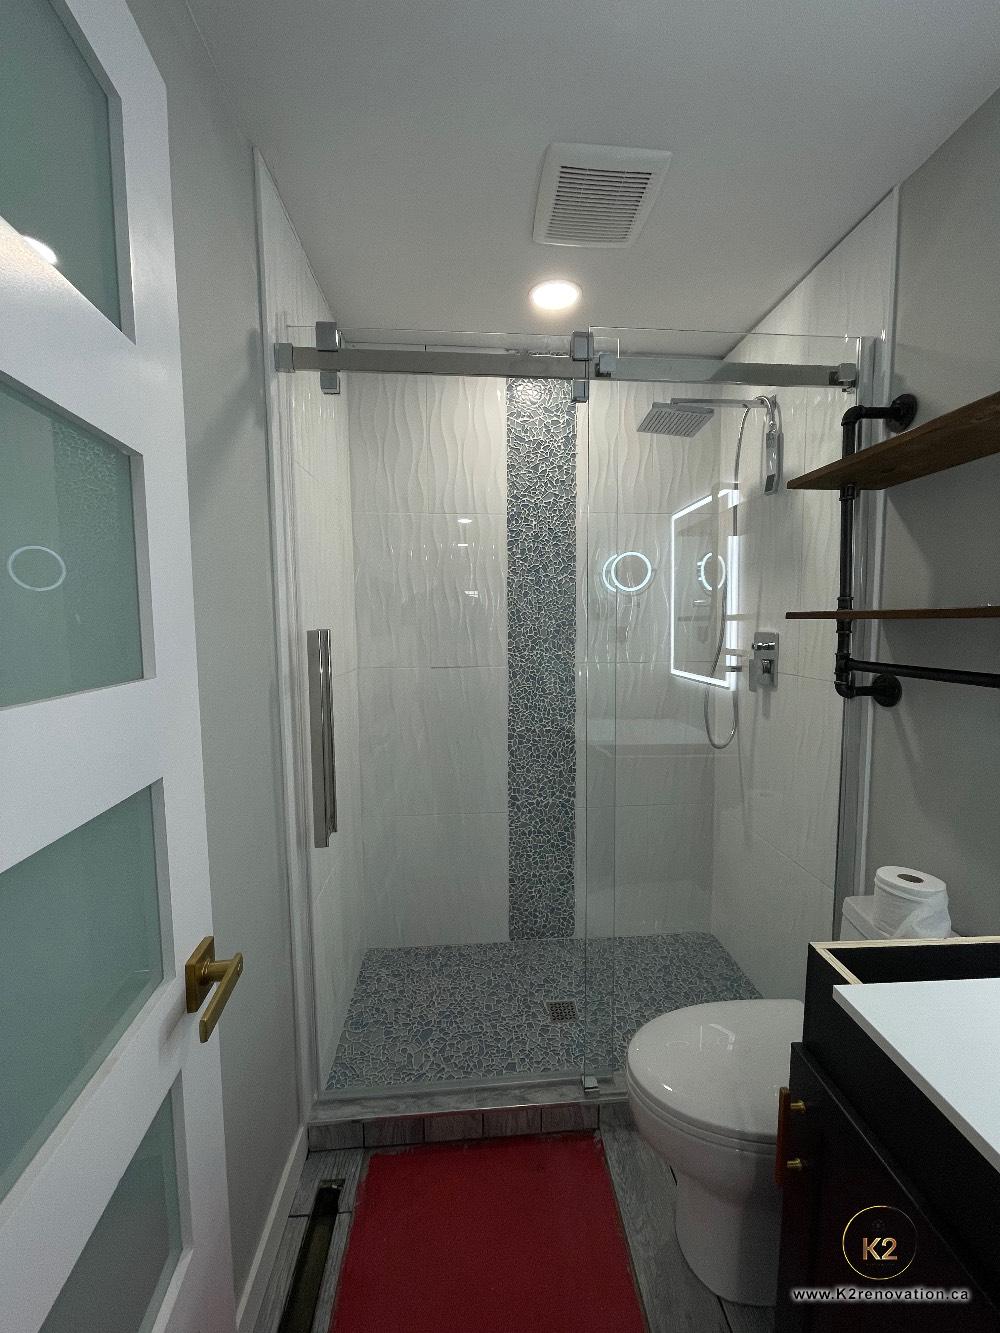
AFTER
Bathroom Renovations
Final stage
BEFORE
Beginning stages
Preparation work before installing tiles
AFTER
bathroom renovation
Finished bathroom renovation
BEFORE
before applying primer
Preparation work before applying primer and final paint
AFTER
Finished painting in two colours
Finished painting exterior in two colors
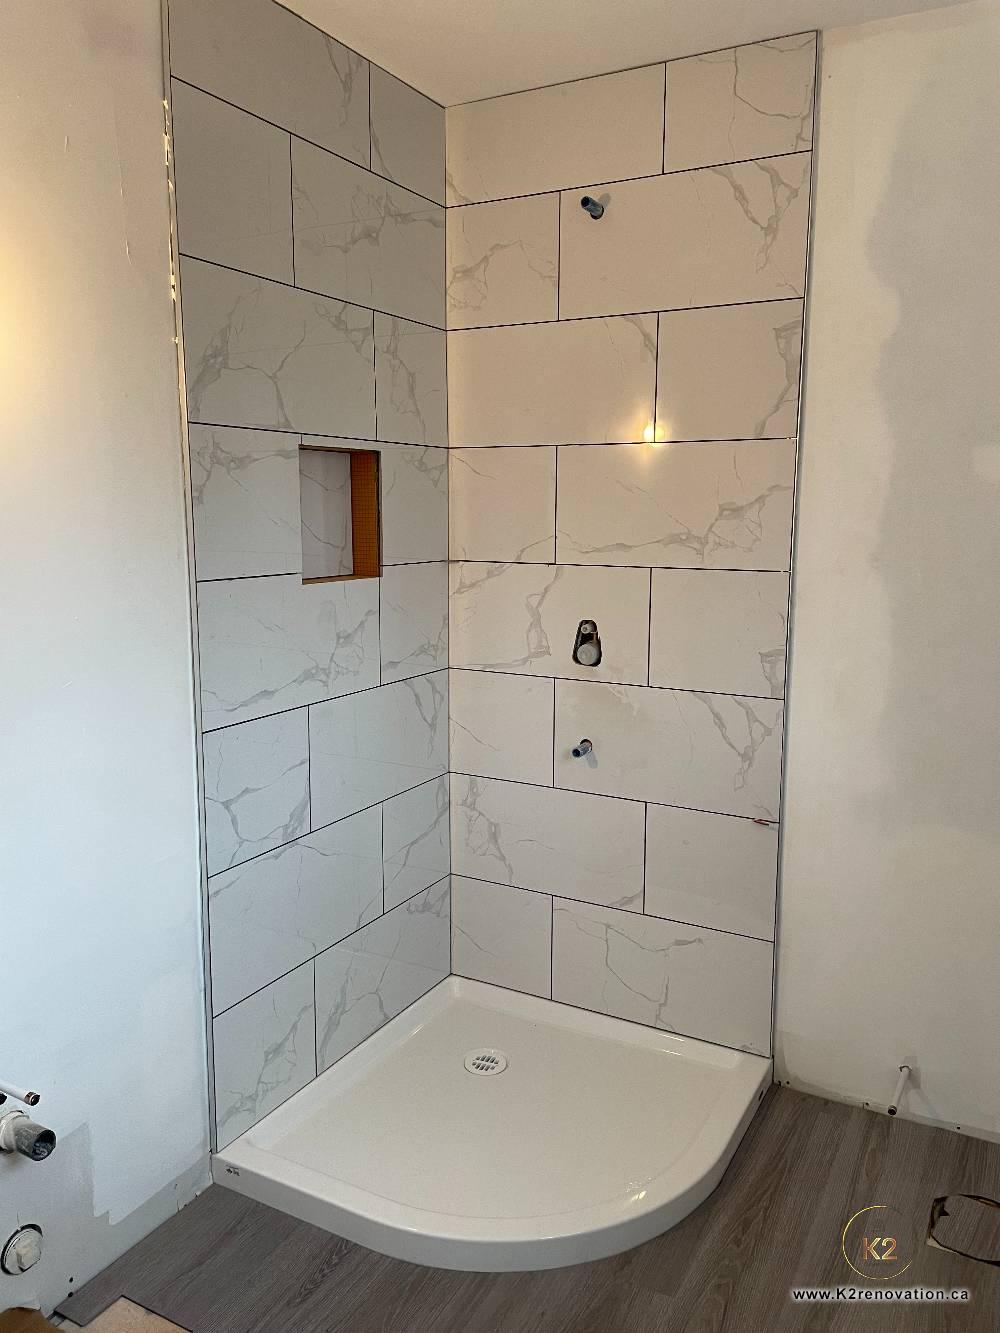
BEFORE
Bathroom Renovations
Before
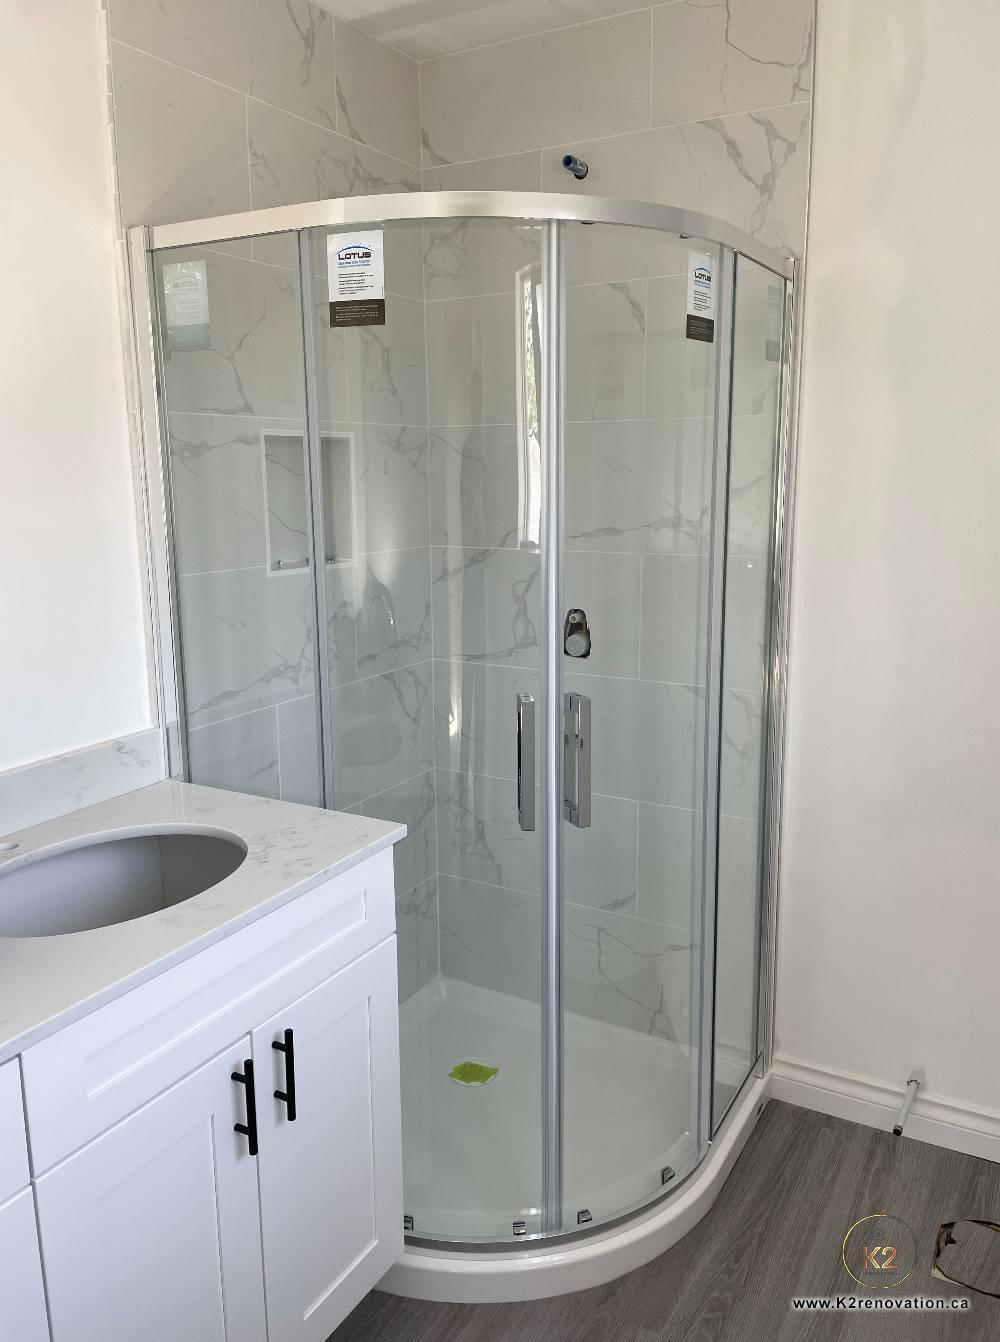
AFTER
After
Completed shower
back
|
1
to
5
of
5
Welcome
Thank you for visiting our site.
K2 Renovation
Close